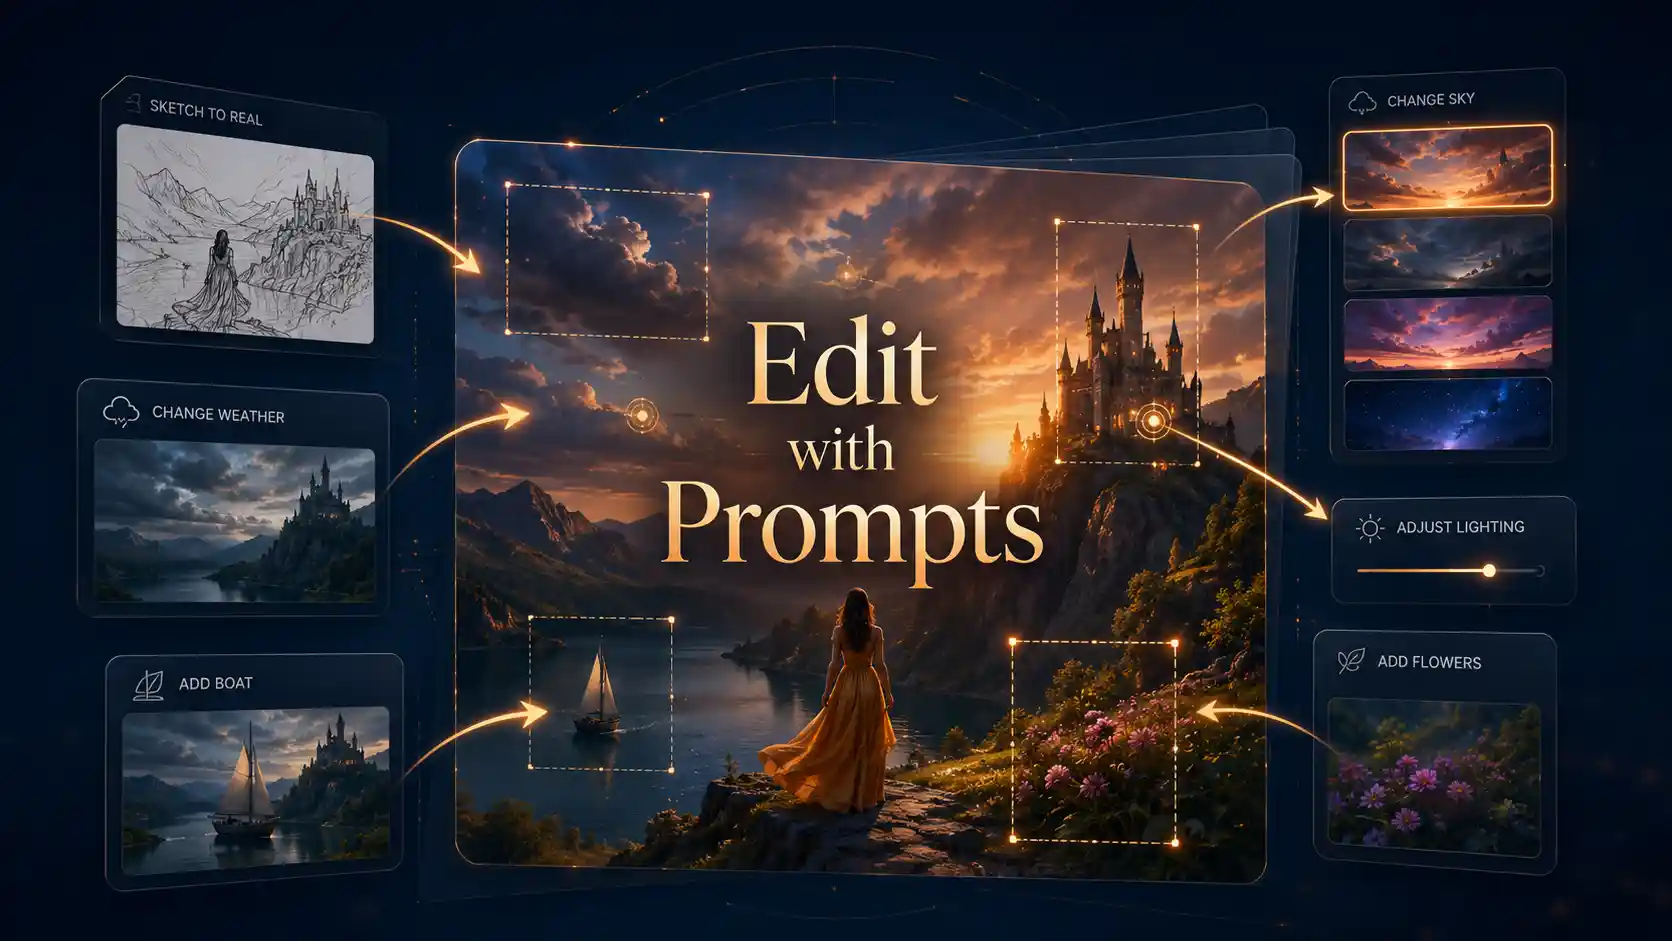
The best AI images are not always created in one try. They are refined step by step.
❔ AI image generation has become easier, but professional creation still faces a common problem:
The image is almost perfect.
The product looks right, but the color needs adjustment.
The character looks good, but one accessory is missing.
The poster works, but the text position needs improvement.
In traditional workflows, these small changes often require full regeneration. Users lose the parts they already like and spend more time testing new prompts.
Seedream 5.0 Pro changes this workflow by making AI image editing more controllable.
💡 Instead of only creating new images, creators can use editing prompts to:
change one specific area
preserve important details
combine multiple references
refine colors and materials
continue designing after generation
This guide explores practical Seedream 5.0 Pro use cases with real prompt examples.
Read More about Seedream 5.0 Pro 📑
Why Are Seedream 5.0 Pro Editing Prompts Different?
Generation creates. Editing improves.
Most AI image prompts start from zero.
You describe:
subject
scene
style
lighting
Then the model creates a new result.
But professional design usually starts differently.
Creators already have something useful:
a product image
a character design
a marketing poster
a concept artwork
The real question is not:
❌ Create another image.
It is:
✅ How can I fix this image without destroying what already works?
A smart editing prompt should answer three questions:
Prompt Part | Question | Example |
Where | What area should change? | @Region01 / @Mark01 |
Change | What should be modified? | Color, object, material |
Keep | What should remain? | Lighting, identity, background |
💡 A powerful editing prompt means more precise.
Use Position-Based Editing to Improve AI Image Control

Mark the location first. Then describe the change.
One of the biggest challenges in AI editing is explaining location.
A user may say:
Add something behind the character.
But the model still needs to understand:
where exactly
how large
whether it overlaps
what should stay unchanged
Position-based editing solves this problem.
Step 1: Mark the target area
✅ Use:
point marks
selected regions
drawn areas
Step 2: Describe the change
Example:
Add a small apple-shaped hat at @Mark01.
Place a low-contrast tiger illustration inside @Region01 behind the cat.
Add a toy fish at @Mark02.
Keep the cat's face, fur pattern, pose, and expression unchanged.
💡 The model receives clear coordinates instead of vague descriptions.
Use Sketch Prompts to Create Ideas Words Cannot Explain
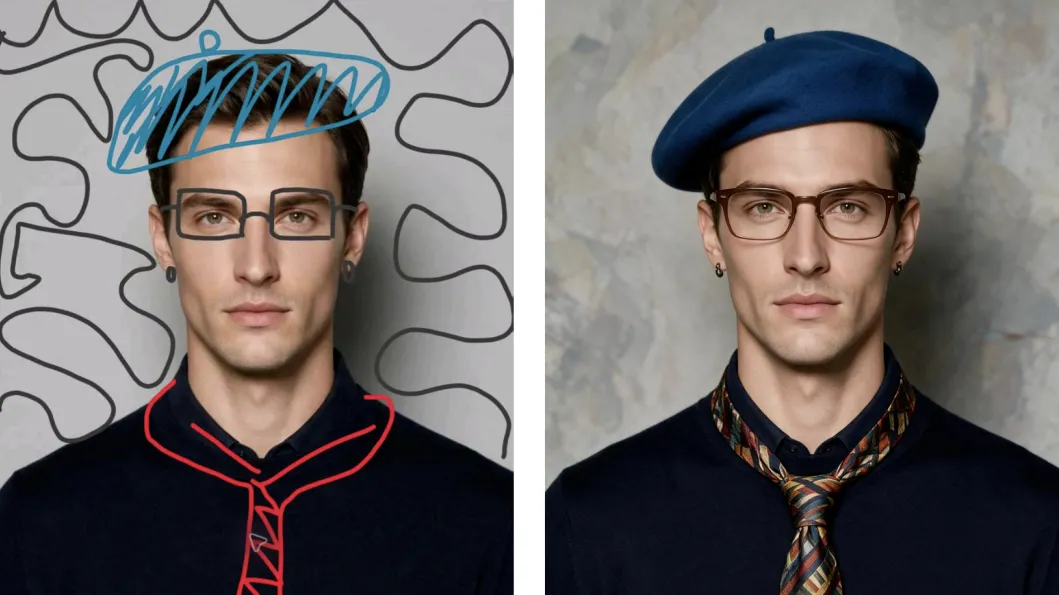
When language fails, draw the idea.
Some creative ideas are difficult to describe:
unusual shapes
accessory positions
artistic composition
visual atmosphere
Instead of writing a long explanation, creators can use simple sketches.
Sketch-guided Workflow
Draw rough lines or shapes.
Let the model understand the visual intention.
Explain what each mark should become.
Example:
Use the sketch marks as guidance.
Turn the blue sketch above the head into a blue beret.
Turn the eye markings into brown glasses.
Turn the red line into a colorful tie.
Keep the person's identity, facial details, and skin texture unchanged.
💡 The sketch does not need to be perfect. It only needs to communicate the idea.
Use Color-Code Prompts to Improve Product Images

Replace vague colors with precise design instructions.
For commercial visuals, colors are not just descriptions.
They are brand assets.
“Make it orange” is not enough.
A designer may need:
exact color
exact area
original material
original reflection
original lighting
Example:
Change the upper bottle shell to sRGB #FF6B35.
Keep the transparent base, bottle shape,
surface highlights, shadows, and background unchanged.
Do not add text or new objects.
💡 The goal is not only changing color. The goal is keeping the product realistic.
Use Layer Separation to Improve AI Design Workflows

A finished image should remain editable.
Traditional AI images are often flattened.
After generation:
text is difficult to move;
objects are difficult to adjust;
backgrounds are difficult to replace.
Layer separation changes this.
✅ Creators can separate:
main subject
text
background
decorative elements
And creators can also ask to cut out a specific object and export it as a transparent PNG layer.
Example:
Separate this image into editable layers:
Main subject, background, text,
foreground objects,
decorative elements.
Keep the original style and alignment.
💡 AI creation becomes closer to a real design workflow.
Use Multi-Image Fusion to Create Consistent Visual World
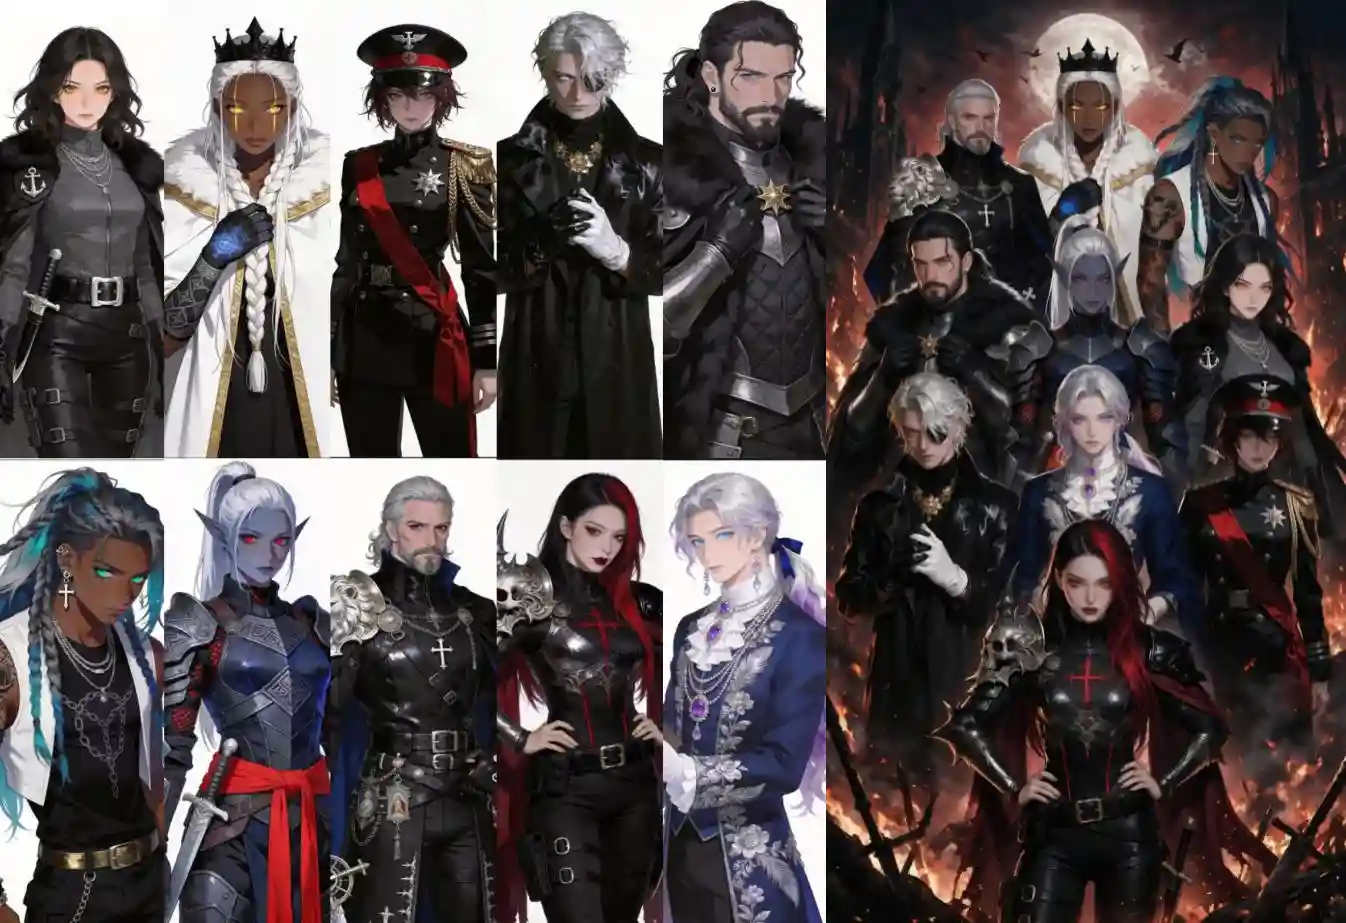
Multiple references need one shared vision.
Seedream 5.0 Pro supports up to 10 reference image inputs, but simply combining is not enough.
The challenge is consistency.
A successful multi-image workflow needs:
same lighting
same perspective
same style
same world
Example:
Use Images 1-10 as character references.
Create a cinematic fantasy battle scene.
Keep every character's identity,
clothing, and accessories consistent.
Use one shared lighting source and background style.
The goal is not:
Put everything together.
The goal is:
💡 Make everything belong together.
Use Seedream 5.0 Pro to Create Professional Infographics
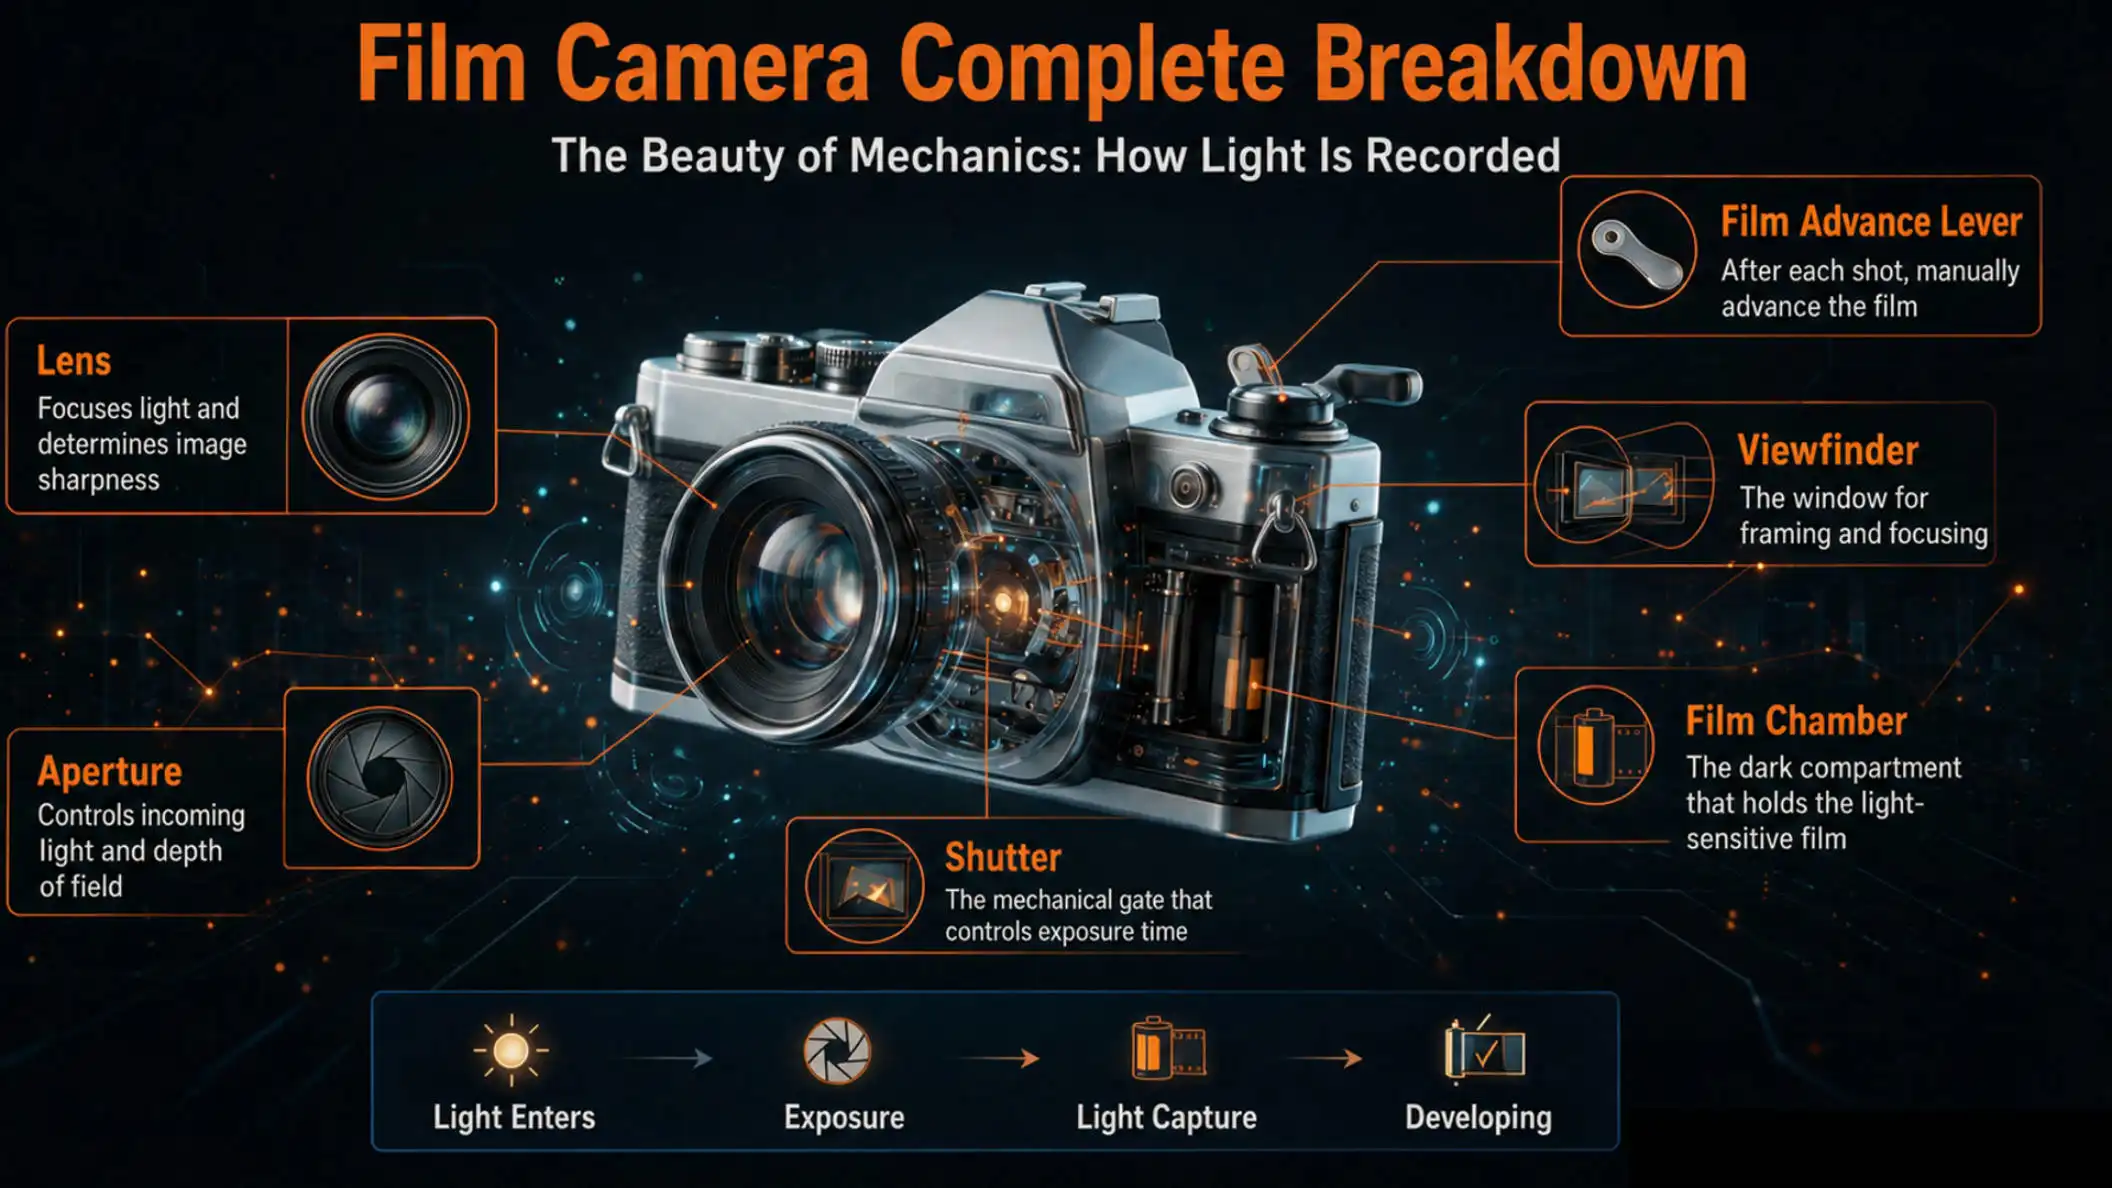
Good information design helps understand faster.
AI images are not only for decoration.
Many businesses need visuals that explain:
products
technology
education
complex concepts
💡 A strong infographic prompt should define:
Main topic
Visual structure
Important labels
Reading order
Text style
Example:
Create a professional infographic explaining a film camera structure.
Use a transparent exploded view.
Label:
lens,
aperture,
shutter,
film chamber.
Use arrows to connect each component.
Keep the layout clean and easy to understand.
This helps transform complex information into visual stories.
Use Multilingual Prompts to Help Global Content Creation
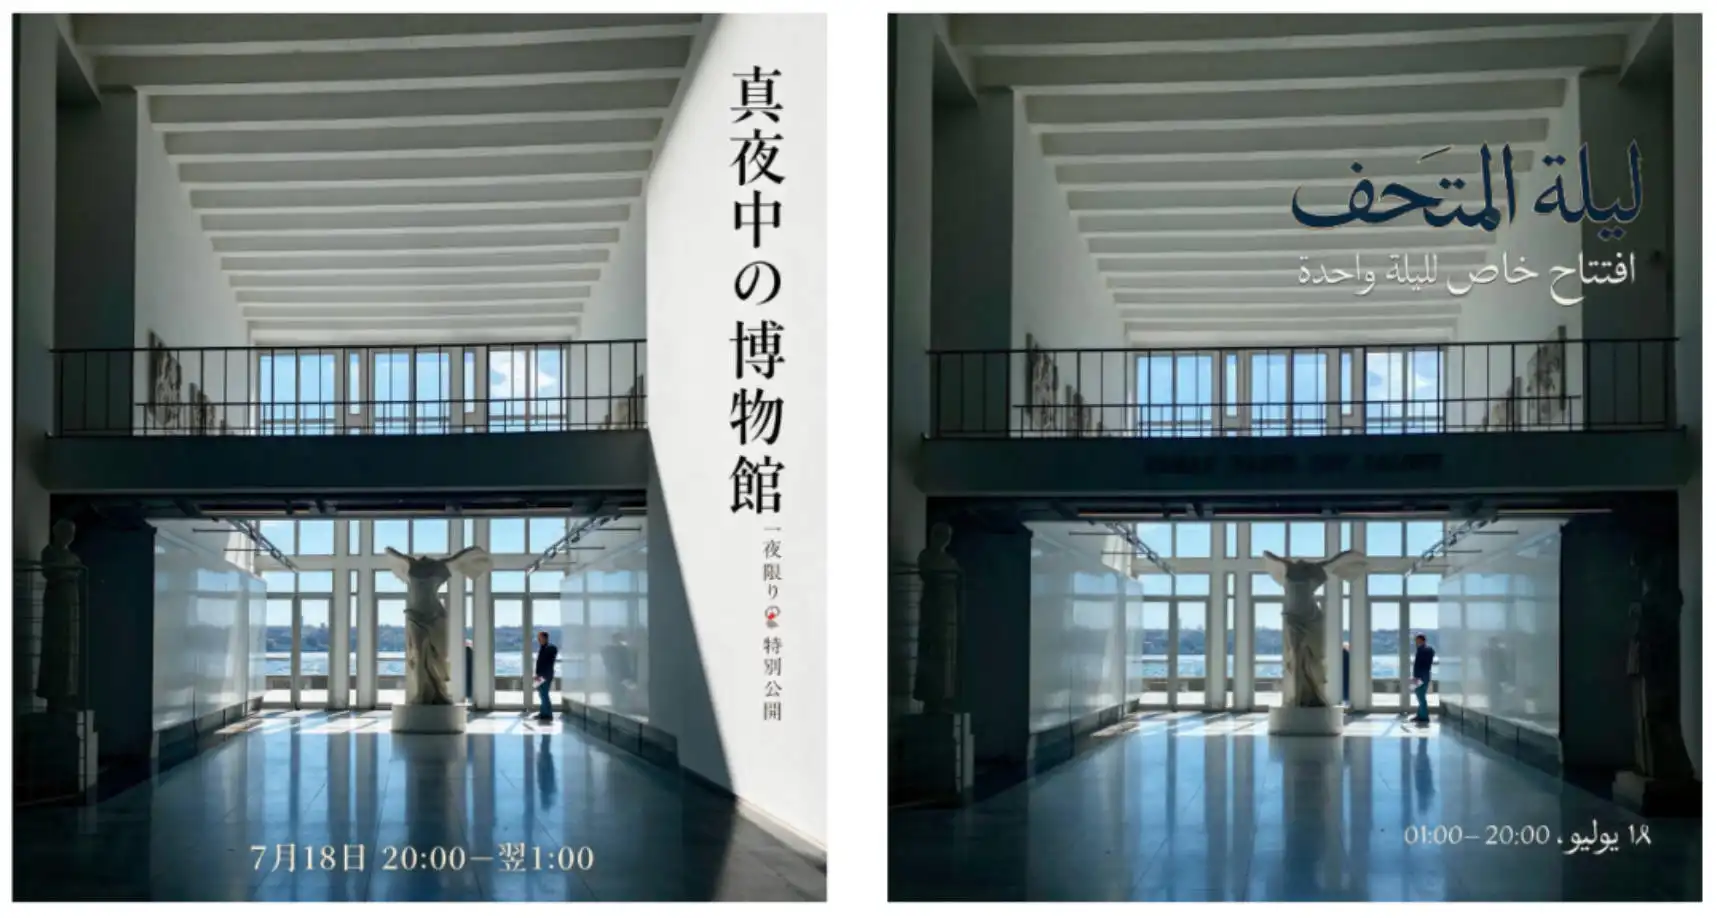
Localization is more than translation.
For global marketing, changing language is not enough.
✅ The design must also adapt:
text direction
spacing
hierarchy
visual balance
Example:
Create an Arabic version of this poster.
Keep the same scene,
main subject,
color palette,
and visual hierarchy.
Adjust text placement for right-to-left reading.
💡 This helps:
international brands
global campaigns
multilingual content teams
The Biggest Upgrade is Revision
Professional creators rarely need a perfect image from the first attempt.
💡 Creators need control.
They need to say:
Change this color
Move this object
Keep this character
Fix this text
Replace this material
That is why editing prompts matter.
Seedream 5.0 Pro helps creators move from:
Generate → Hope → Restart
to:
Generate → Edit → Improve → Deliver
Explore Seedream 5.0 Pro Prompt Guide 👉
Seedream 5.0 Pro supports precise editing prompts, reference control, color adjustments, layer workflows, and visual guidance.
Creators can turn AI images into practical design assets.
Start with an idea
Guide the model
Refine every detail
Choose Seedream 5.0 Pro AI Image Generator to create visuals that are ready for real projects.